Solar Mounting System Components Explained: Rails, Clamps, Hooks, and Fasteners
Planning a solar installation and feeling swamped by the endless list of parts? You're not alone. It's easy to get lost in a sea of aluminum profiles, stainless steel bolts, and oddly shaped brackets. The real agitation comes from knowing that choosing the wrong part can lead to installation delays, a leaky roof, or a system that isn't secure. But understanding the core solar mounting system components and their specific jobs is the key to selecting a reliable and efficient solution for your project.
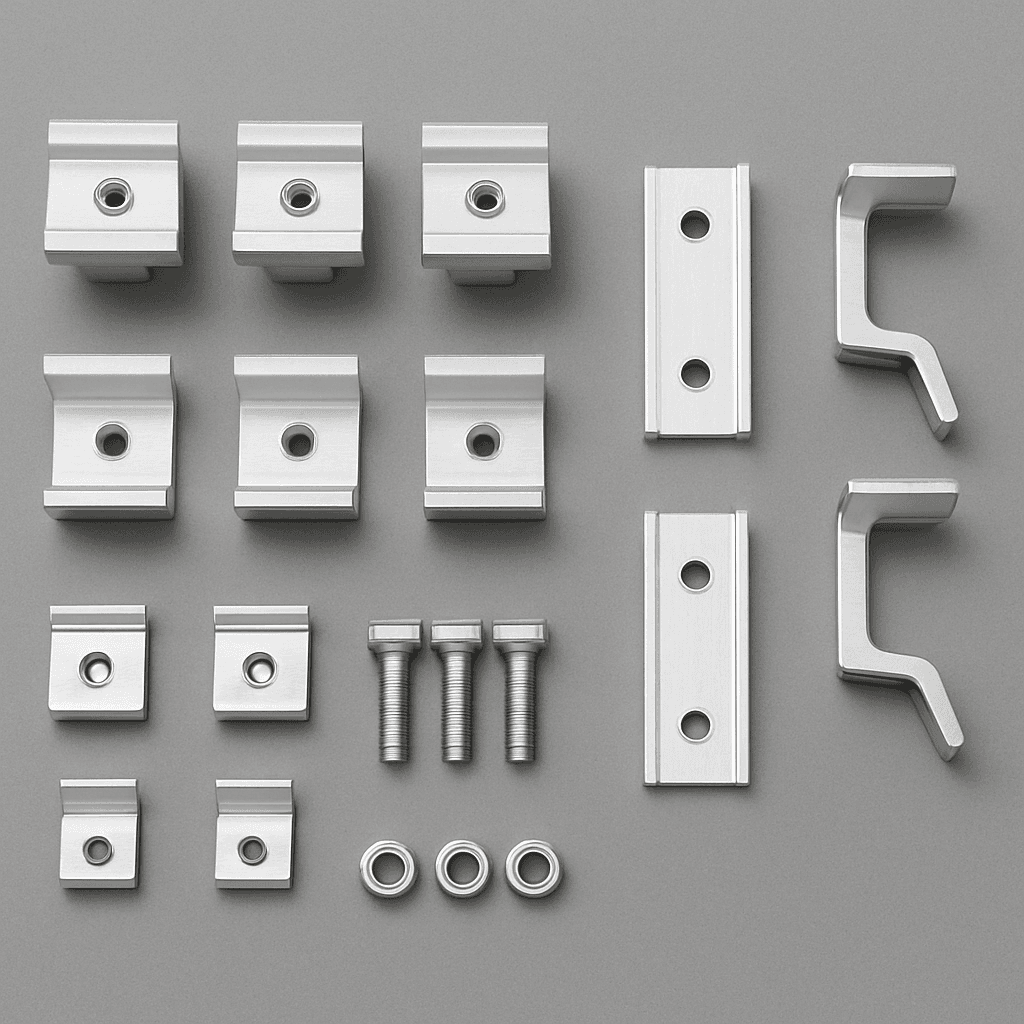
The main solar mounting system components are rails, clamps, hooks, and fasteners. Rails create the structural frame, clamps secure the solar panels to the rails, and roof hooks or attachments anchor the entire system to the building's structure. Fasteners, like bolts and nuts, are the hardware that holds all of these pieces together securely.
Now that you know the key players, let's look beyond a simple glossary. The real skill is in understanding how to choose the right versions of these parts for your specific project. Let's break down the critical details that experienced installers and procurement managers focus on to ensure a project's success.
What Makes a Solar Mounting Rail Right for Your Project?
Picking a solar mounting rail seems pretty straightforward, doesn't it? Many people just look for a standard aluminum extrusion. But choosing a rail based only on its material can increase your costs, complicate the installation, or worse, lead to a structure that can't handle the local wind and snow loads. So let's look at what really matters for choosing the right rail.
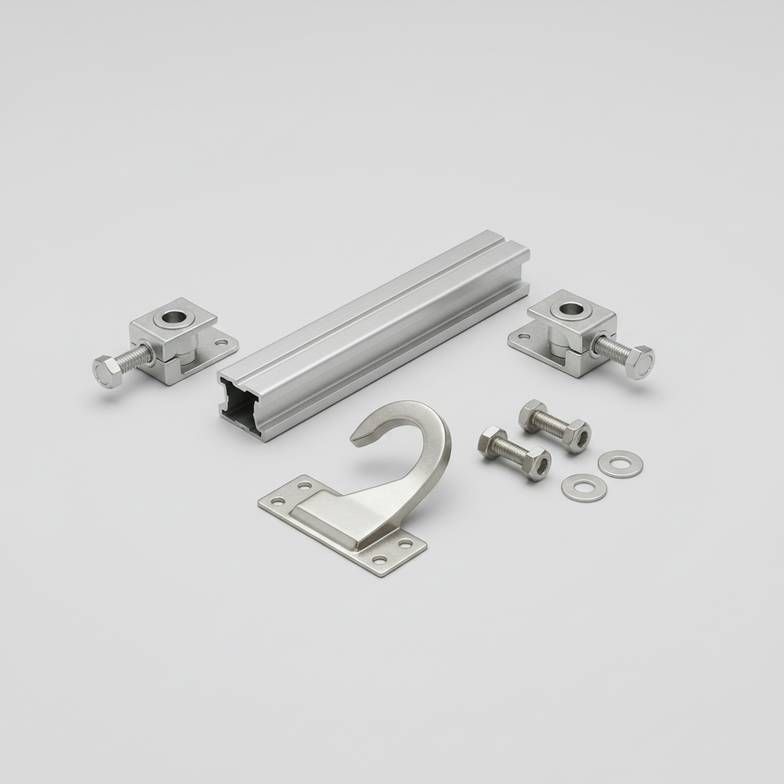
The best solar mounting rail for your job depends on the required span between roof attachments, the calculated wind and snow loads it must bear, and its compatibility with your chosen clamps. While the material (like Aluminum 6005-T5) is a good starting point, the rail's cross-sectional profile is what truly defines its strength and suitability.
Dive Deeper: Profile, Span, and Compatibility
When I review project plans with customers, the conversation about rails quickly moves past the material spec. Here’s what we focus on instead.
Beyond the Material: Profile and Span Matter More
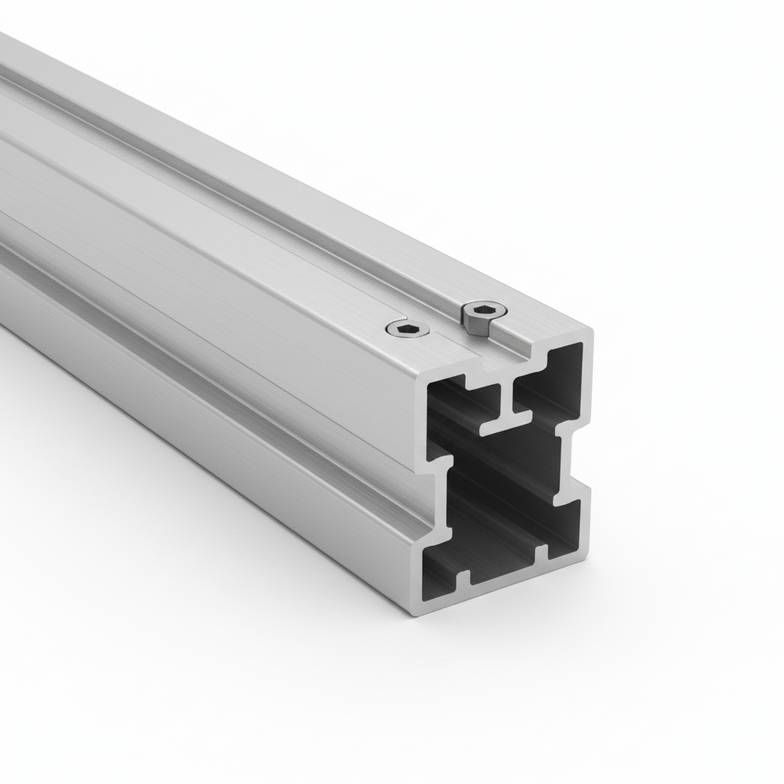
While Aluminum 6005-T5 is the industry standard for a good reason—it offers a great balance of strength, weight, and corrosion resistance—the rail's physical shape, or profile, is what determines its performance. A taller, thicker, or more intricately designed rail profile can span a greater distance between roof penetrations.
Why does this matter? On a typical residential roof, rafters are often spaced 16 or 24 inches apart. A stronger rail might allow you to anchor the system to every other rafter instead of every single one. This translates directly into:
Fewer roof penetrations: Reduces the number of holes you have to drill and seal, minimizing leak risk.
Less material: Fewer roof attachments are needed.
Faster installation: Less time spent on the roof locating rafters and installing attachments.
So, when evaluating rails, don't just ask "What's it made of?" Ask for the span tables. These documents show how far that specific rail profile can span under different load conditions (e.g., wind speed, snow depth). This data, not just the material, is what a structural engineer will use to validate your system design.
Rail Length and Splicing
Solar mounting rails typically come in standard lengths, such as 4.2 meters (about 13.8 feet). For most residential projects, these lengths are more than enough. But for large commercial rooftops, you'll need to create much longer, continuous rows. This is where rail splices come in.
A rail splice is a component designed to connect two rails end-to-end. A well-designed splice does two things:
Maintains Structural Integrity: It should be strong enough to make the two connected rails act as a single, continuous beam.
Ensures Grounding Continuity: Many systems use the rails as part of the equipment grounding path. The splice must create a reliable electrical bond between the rail sections.
When we quote a large project, we always ensure the splices are included and are designed to work seamlessly with the specific rails we're supplying.
How Do You Choose the Correct Solar Module Clamps?
"A clamp is a clamp, right?" I hear this sometimes, but it's a risky oversimplification. Using the wrong size or type of clamp can physically damage the solar module's frame, void its warranty, or create a poor electrical connection that compromises the safety of the entire system. Let's clarify the difference between mid-clamps and end-clamps and what you absolutely must check before you order.
To choose the correct solar module clamps, you must match the clamp to the solar panel's frame height (e.g., 30mm, 35mm, 40mm). Mid-clamps are used to secure two modules together between panels, while end-clamps are used to secure the modules at the very beginning and end of each row.
Dive Deeper: It's All About the Module Datasheet
The single most common cause of ordering the wrong clamps is failing to consult the solar panel's datasheet. It contains two pieces of information that are non-negotiable.
The Critical Role of Frame Height
Every solar panel has a frame around its perimeter, and the height of that frame is a critical dimension. If you have a panel with a 35mm frame and you try to use a 30mm clamp, it won't fit. If you use a 40mm clamp, it won't hold the module securely, allowing it to shift or even lift out under high winds.
When an installer or distributor contacts us for a quote, one of the first questions I ask is, "Can you please send me the datasheet for the module you're using?" This immediately tells us the exact clamp size needed. We stock clamps for all common frame heights—30mm, 35mm, 40mm, and more—to ensure a perfect fit.
Mid-Clamps vs. End-Clamps
These two clamps look similar but have very different jobs.
Mid-Clamps: These sit between two adjacent panels. They have "lips" on both sides to hold down both module frames simultaneously. Their design also dictates the spacing between modules, which is important for aesthetics and thermal expansion.
End-Clamps: These are placed at the beginning and end of a row of panels. They only have one "lip" to hold down the frame of the last module.
Many of our clamp designs come pre-assembled, with the bolt and grounding clip already in place. I've had installers tell me this feature alone can save them an hour or more on a residential job because they aren't fumbling with tiny parts on a hot or sloped roof.
| Clamp Type | Function | Key Selection Factor |
|---|---|---|
| Mid-Clamp | Secures two adjacent panels, sets spacing | Module frame height |
| End-Clamp | Secures the last panel in a row | Module frame height |
| Grounding Mid-Clamp | Creates an electrical bond between modules | System compatibility, code compliance |
Pay Attention to Clamping Zones
The module datasheet also specifies the approved clamping zones. These are the areas along the module frame where the manufacturer has determined it's safe to apply pressure from a clamp. Clamping outside these designated zones can create stress points on the glass or frame, potentially leading to microcracks or other damage, and will almost certainly void the module's warranty. A good system design always respects these zones.
Which Roof Hooks and Attachments Do Your Solar Mounting System Components Need?
The roof is the literal foundation of your solar array. A mismatched roof attachment is one of the most serious mistakes you can make, potentially causing cracked tiles, leaks, and structural instability—a project manager's and homeowner's worst nightmare. So let's break down the most common solar mounting system components for anchoring by roof type.
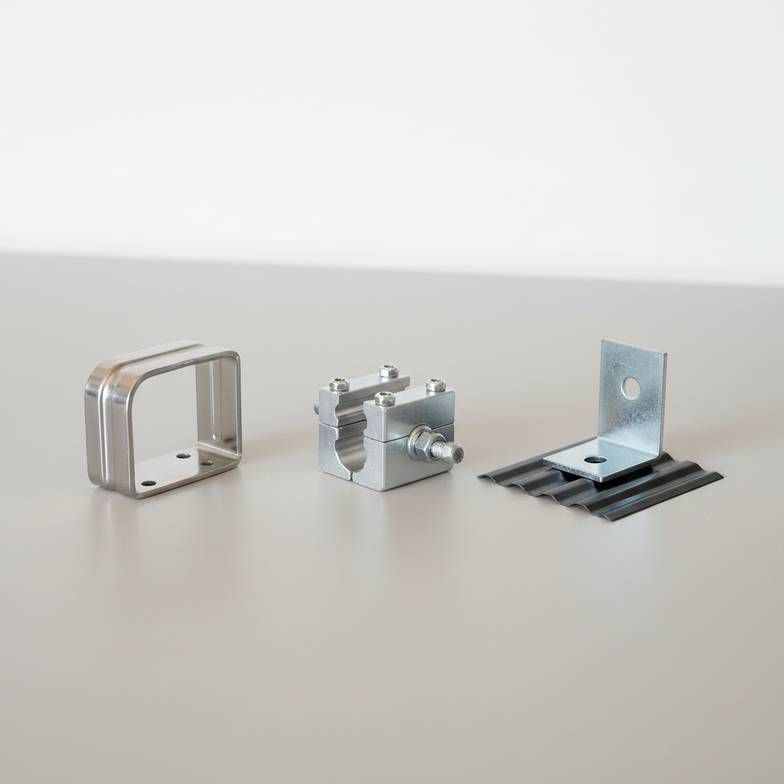
The correct roof hooks and attachments are determined entirely by the roofing material. Tile roofs require specific tile hooks matched to the tile's profile, metal roofs use standing seam clamps or L-feet bolted to purlins, and asphalt shingle roofs use flashing with L-feet to ensure a watertight seal.
Dive Deeper: Matching the Attachment to the Roof
There is no "universal" roof attachment. Every roof type demands a specific solution. Here's how we guide customers to the right choice.
For Tile Roofs: The Challenge of Fit and Seal
Tile roofs are probably the most complex. There are hundreds of tile profiles out there—Spanish, Roman, flat, S-tile—and each requires a differently shaped hook. Using the wrong hook can put pressure on the tile, causing it to crack over time.
Profile is everything: The goal is for the arm of the hook to exit from underneath the tile without lifting or stressing it. When a client sends us photos of their roof tile and a few basic measurements, we can usually identify the right hook profile from our catalog.
Adjustability helps: Many modern tile hooks offer height adjustability, which helps the installer create a perfectly level plane for the rails, even if the roof deck itself isn't perfectly flat.
Flashing or no flashing?: Some jurisdictions require metal flashing to be installed with every tile hook penetration, while others allow for high-quality sealant. This often depends on the hook design and local building codes.
For Metal Roofs: To Penetrate or Not to Penetrate?
Metal roofs offer two excellent mounting options, depending on the roof profile.
Standing Seam Roofs: This is the ideal scenario. We use standing seam clamps, which grip onto the raised seam of the metal roofing panels. The big advantage? Zero penetrations. You aren't drilling any holes in the roof, which preserves the roof's integrity and warranty. The clamps use set screws to securely bite into the seam without piercing it.
Trapezoidal or Corrugated Roofs: For these profiles, you can't clamp on. Instead, you use an L-foot or a specialized bracket that fastens directly into the structural purlins or rafters below. The key here is the fastener: it must have an EPDM sealing washer that compresses as it's tightened, creating a durable, watertight seal around the screw.
For Asphalt Shingle Roofs: Flashing is Non-Negotiable
For the incredibly common asphalt shingle roof, the attachment system is a two-part solution: an L-foot and a piece of flashing.
The L-foot bolts directly into a roof rafter.
The flashing is a thin piece of aluminum that slides under the row of shingles above the L-foot.
This design is brilliant in its simplicity. Any water running down the roof flows over the top of the flashing, keeping the penetration point completely dry. I always stress to buyers: never install a solar array on a shingle roof without proper flashing for every single attachment point.
Why are Fasteners the Unsung Heroes of Solar Mounting System Components?
It's so easy to overlook the tiny nuts, bolts, and clips in a solar project. They aren't as impressive as a long rail or a shiny solar panel. But let me tell you, a missing bag of T-bolts or a set of low-quality screws can bring a multi-thousand-dollar installation to a grinding halt. Low-quality fasteners can also corrode prematurely, compromising the safety of the entire system.
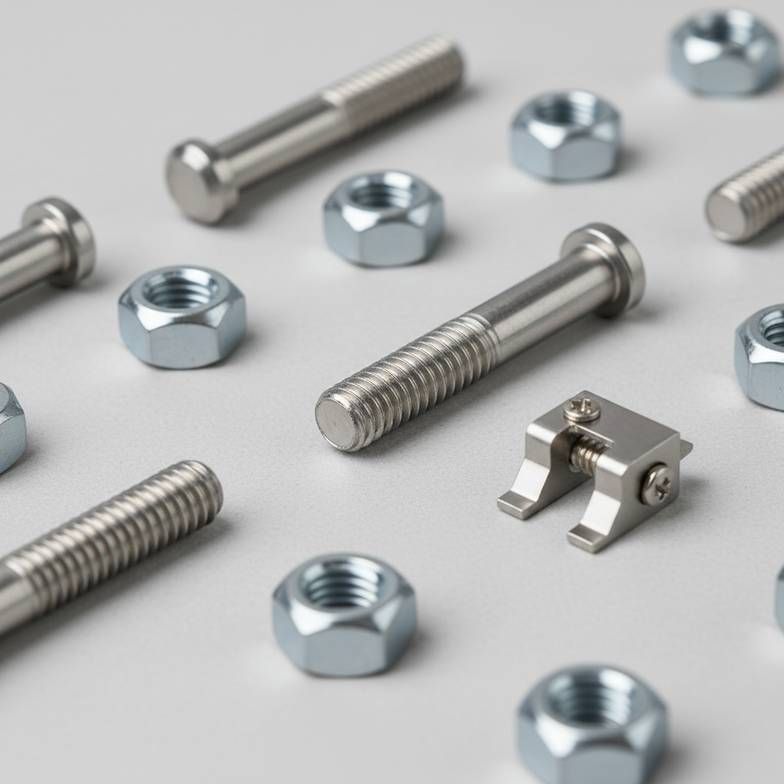
Fasteners like bolts, nuts, and screws are the unsung heroes among solar mounting system components. They are typically made from highly corrosion-resistant materials like stainless steel (SUS304 or SUS316). Their quality, and just as importantly, their inclusion in a complete kit, ensures structural integrity and prevents costly delays during installation.
Dive Deeper: The Details That Define Quality
When we put together a mounting kit for a customer, we spend a lot of time thinking about the fasteners. It's a detail that separates a great supplier from an average one.
Material Matters: Stainless Steel is the Standard
For solar mounting hardware, corrosion resistance is paramount. The system is going to be exposed to rain, snow, and sun for 25 years or more.
SUS304 Stainless Steel: This is the workhorse of the industry. It provides excellent corrosion resistance for the vast majority of environments and is the standard for most bolts, nuts, and clamps.
SUS316 Stainless Steel: If your project is in a coastal area with high salt spray or an industrial zone with chemical pollutants, we would recommend upgrading to SUS316. It contains molybdenum, which significantly increases its resistance to chloride corrosion.
The Value of a Complete, Pre-Assembled Kit
A thoughtful supplier doesn't just sell you a pile of parts. We provide a solution. A huge part of that is in the packaging and kitting of fasteners.
Pre-assembly: As mentioned with clamps, having the bolt and nut already assembled saves an incredible amount of time.
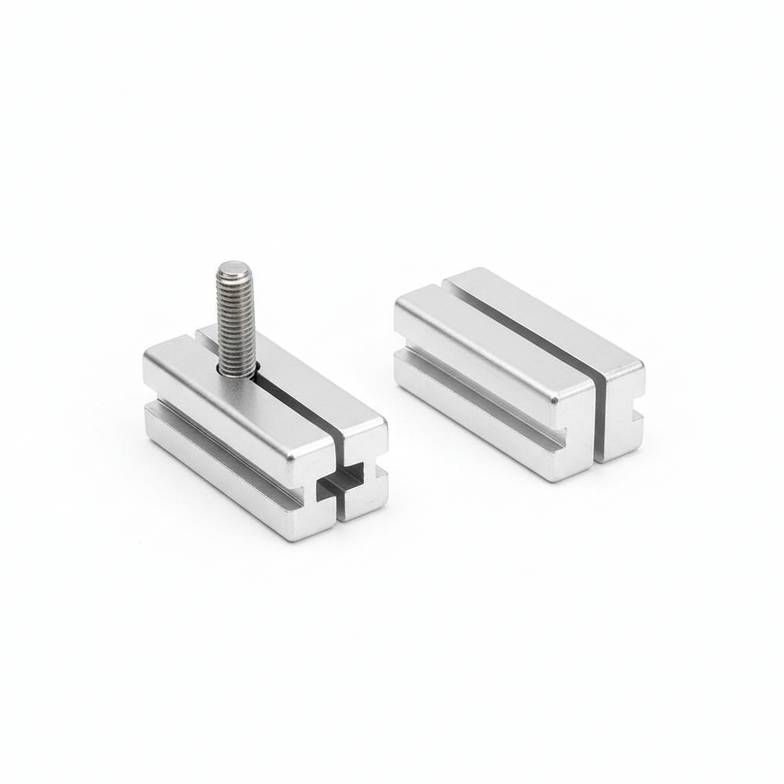
Complete Kits: We ensure the kit includes all the specialized hardware needed to connect the components—the T-bolts that slide into the rail channels, the flange nuts that secure the clamps, the grounding clips, etc. The only thing the installer usually needs to source separately are the lag bolts for the roof, as the required length depends on the specific roof structure.
I've had so many customers tell me that receiving a well-organized kit with all the parts clearly labeled and accounted for makes the installation process smoother and more profitable. It eliminates the guesswork and the last-minute trips to the hardware store.
Frequently Asked Questions
What is the best material for solar mounting system components?
The most common and reliable materials are anodized Aluminum (like 6005-T5) for structural parts like rails and Stainless Steel (SUS304) for fasteners and clamps. The "best" choice depends on your project's environment; highly corrosive coastal areas may require higher-grade materials like SUS316 stainless steel for fasteners.
How do I ensure the clamps fit my solar panels?
Always check your solar panel's datasheet for the frame height (e.g., 30mm, 35mm, 40mm). The mid-clamps and end-clamps you order must match this dimension exactly. Also, make sure you are clamping within the approved "clamping zones" specified on the datasheet to avoid voiding the panel's warranty.
Can I mix and match components from different suppliers?
While it might seem possible, I strongly advise against it. Components from a single supplier are designed and tested to work as an integrated system, ensuring mechanical compatibility, proper grounding, and structural integrity. Mixing parts can introduce unforeseen risks, create installation problems, and complicate any future warranty claims.
Do solar mounting kits come with all the necessary fasteners?
Reputable suppliers, like us, provide a complete kit with all the specialized fasteners (T-bolts, nuts, clamps) needed to assemble the racking itself. However, the fasteners that attach the system to the roof (like lag bolts or screws) may need to be sourced separately, as their required type and length depend on your specific roof construction. Always verify what's included in a quotation.
Conclusion
Choosing the right solar mounting system components is far more than just picking parts from a catalog. It's about understanding how those parts work together to create a complete, compatible, and reliable system that is tailored to your specific project. By looking beyond basic material specs and focusing on system-level details—like rail spans, clamp fit, and the correct roof attachments—you can avoid costly mistakes and ensure a smooth installation. The goal is to build a secure foundation that will last for the 25+ year lifespan of the solar panels it supports.
To move your project forward with confidence, the next step is to gather your project information—roof type, module datasheet, layout drawings, and local load requirements. With these details, we can help you specify the right solar mounting system components. Submit your project details to our team, and we'll provide a clear, complete quotation to get your installation started on the right foot.
For further project planning, read our guides to aluminum versus steel mounting systems and avoiding solar installation mistakes.
Written by
XINVOK Technical Team
Practical solar mounting knowledge for EPC teams, distributors and project buyers.
Project inquiry
Talk to Our Team
Share your project location, module size, mounting type, quantity and customization requirements.