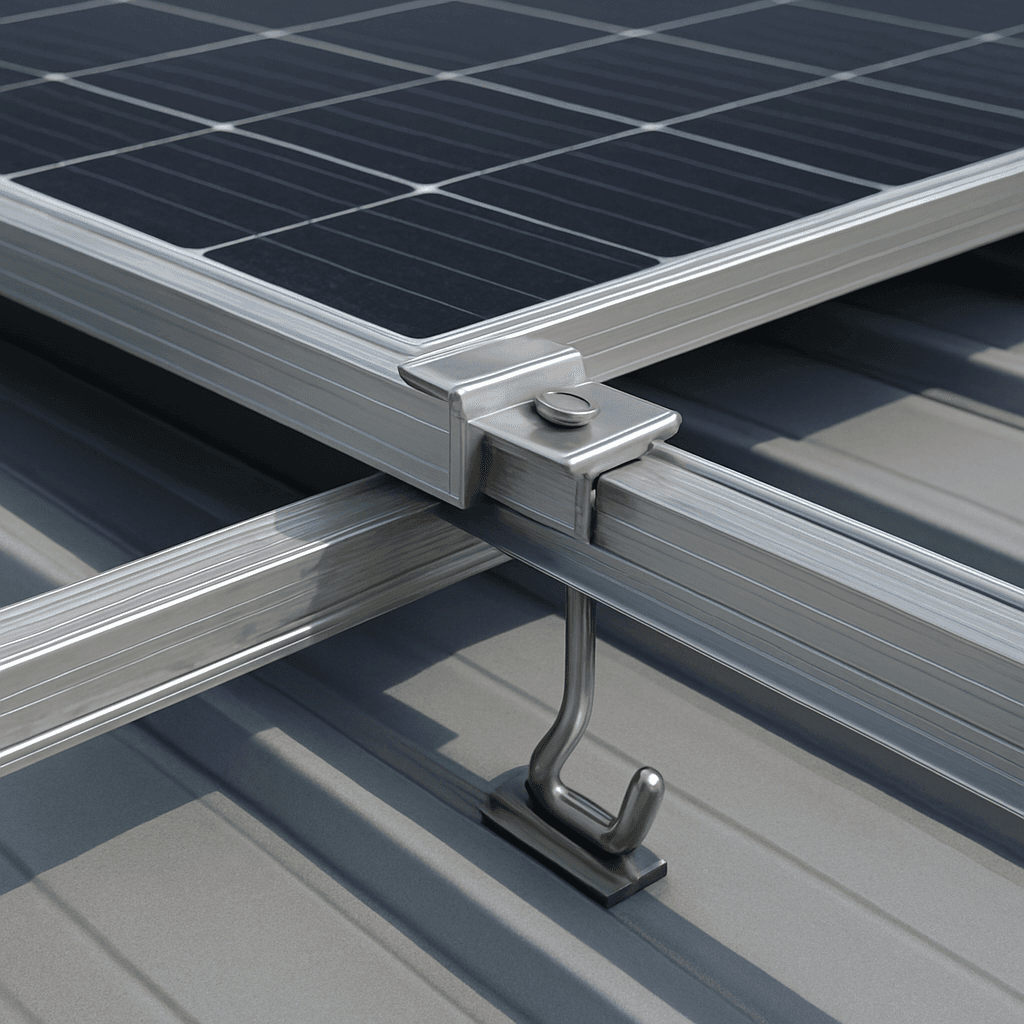
Solar Mounting System Installation: Common Mistakes and How to Avoid Them
Staring down the checklist for a new project, you know that a successful solar mounting system installation depends on getting a thousand little details right. But the pressure is on. A small mistake made in the planning phase can quickly spiral into a huge on-site headache, leading to budget overruns, dangerous working conditions, and a system that fails years before its time. The secret to avoiding these nightmares isn't about having superhuman installers; it's about building a rock-solid plan before a single component is ordered.
The most common solar mounting system installation mistakes originate long before the actual installation day. They typically involve selecting a system without verifying site-specific data like roof type and load requirements, focusing only on component price instead of total installed cost, assuming all parts in a bill of materials are compatible and complete, and overlooking the critical role of small components like fasteners and clamps.
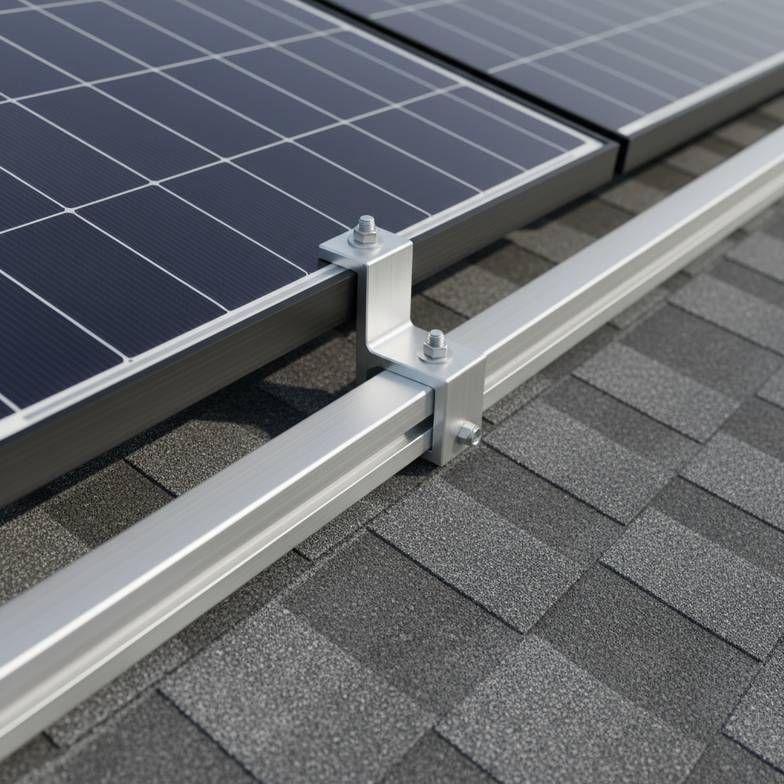
Let's unpack these common but avoidable traps. I see these issues pop up all the time in conversations with EPCs, installers, and project buyers. By understanding where things can go wrong during procurement, you can ask the right questions and set your project up for a smooth, safe, and profitable installation.
Is Choosing a System Based on Price a Common Solar Mounting System Installation Mistake?
It’s completely natural to line up a few quotes and feel the pull of the one with the lowest price per rail or clamp. But what if that attractive upfront cost is just a mask for hidden expenses that will ambush your budget later on? This is a trap I see even experienced buyers fall into.
Yes, focusing solely on the per-unit price of major components is a frequent and costly mistake. A cheaper system might require more labor, more roof penetrations, or have lower-quality materials, leading to higher total installed costs and long-term maintenance risks.
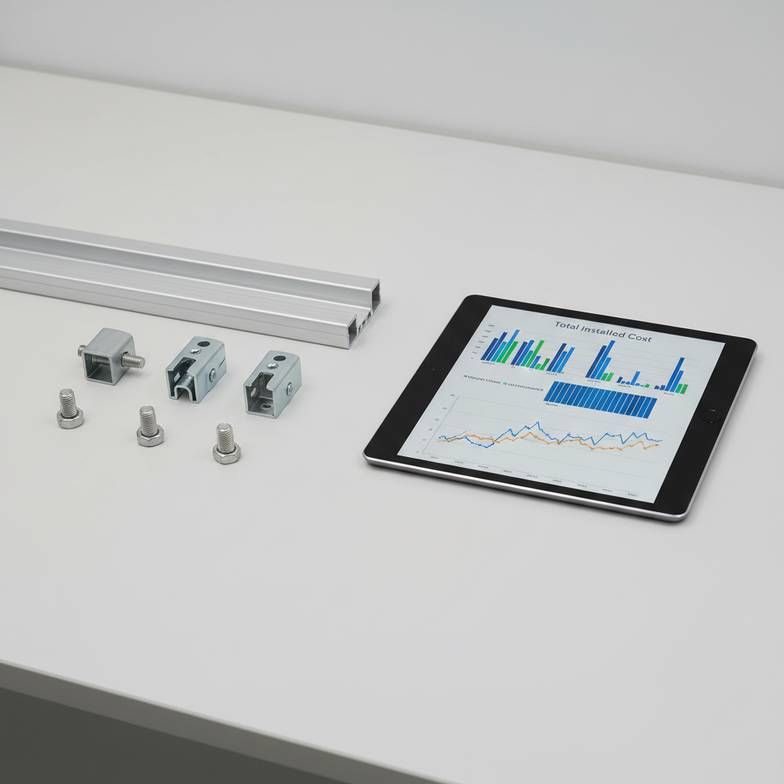
Dive Deeper: Beyond the Price Tag to Total Installed Cost
When we prepare a quote, we're not just selling parts; we're providing a solution engineered for a specific outcome. The sticker price of a rail doesn't tell you the whole story. The real number you should care about is the Total Installed Cost, which includes parts, labor, and long-term risk.
A common question we get from buyers is, "Why is your rail 5% more expensive than this other one?" My answer is to look at the whole picture.
Labor Efficiency: Does the system come with pre-assembled components, or does your team have to build everything from individual nuts and bolts on a hot roof? A system that’s slightly more expensive but saves 15 minutes of labor per panel can result in massive savings across a commercial project.
Structural Impact: A cheaper roof hook might be less robust, forcing you to use more of them. This means more roof penetrations, more time spent waterproofing, and more potential points of failure. The cost of fixing one leak ten years from now will wipe out any initial savings.
Material Quality & Longevity: This is a big one. To hit a low price point, some manufacturers might use a lower grade of aluminum, a thinner anodized coating, or untreated steel components. In a coastal area with salt spray, for example, using high-grade stainless steel (like A4/316) for fasteners isn't a luxury; it's a necessity to prevent catastrophic failure from corrosion.
Let's look at a simple comparison:
| Feature | System A (Lower Price) | System B (Higher Price) |
|---|---|---|
| Rail Cost | $2.00 / meter | $2.20 / meter |
| Components | Individual parts | Pre-assembled clamps |
| Required Attachments | 1 per 1.2 meters | 1 per 1.6 meters |
| Est. Labor Time | 25 min / module | 18 min / module |
| Material Spec | Standard Coated Steel | A2/304 Stainless Steel |
| Total Installed Cost | Potentially Higher | Potentially Lower |
As you can see, the cheaper rail in System A could easily lead to a more expensive project once you factor in the extra labor and the higher number of roof attachments. The right question to ask your supplier isn't "How much is your rail?" but rather, "What is the estimated total installed cost per module, and what factors contribute to that?"
Why Is Assuming Component Compatibility a Major Installation Risk?
You've sourced your rails from one supplier because they had a great deal, and you found some clamps from another that looked like they'd fit. On installation day, your team discovers the clamp doesn't seat properly in the rail channel. The project grinds to a halt while you scramble to find a solution.
Assuming components from different systems or suppliers are compatible is a critical risk. Mismatched parts can create weak points, void warranties, and cause catastrophic failures, as they haven't been tested to work together under design loads.
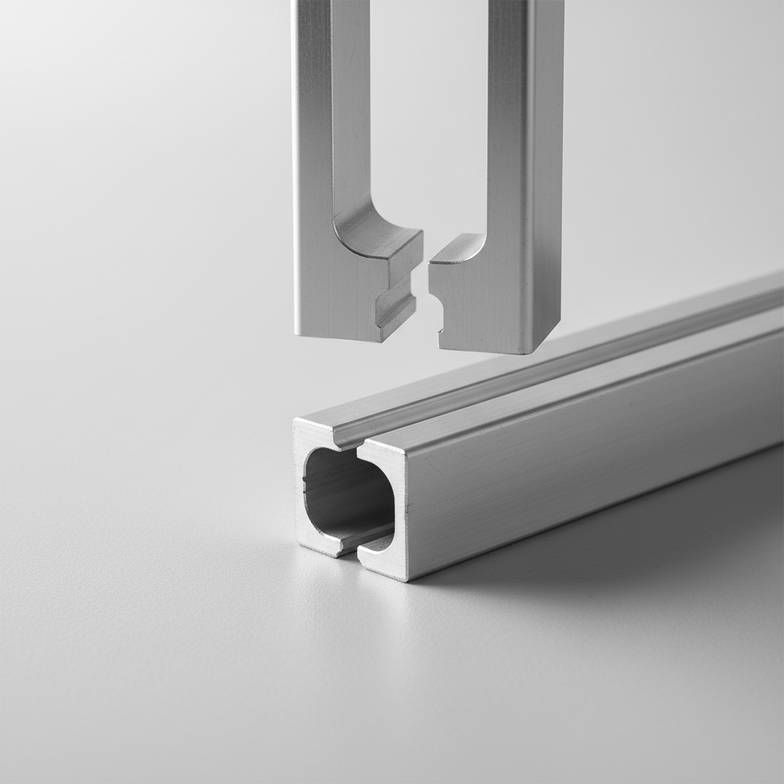
Dive Deeper: The Danger of a "Mix-and-Match" Approach
A solar mounting system is just that—a system. Every part, from the rail's extrusion profile to the clamp's shape and the bolt's torque specification, is designed and tested to work in concert. When you start mixing and matching, you become the de-facto engineer, taking on all the liability if something goes wrong.
When reviewing project requirements, we often find buyers overlook the module specifications. A question we always ask is, "What specific solar module are you using?" The panel's frame height dictates the exact clamp needed. Using a mid-clamp designed for a 35mm frame on a 30mm module creates a loose connection that will rattle and potentially fail under wind load. Worse, using the wrong clamp can create pressure points that damage the module frame, instantly voiding the panel manufacturer's warranty.
Verifying Your Bill of Materials (BOM)
A reliable supplier won't just send you a price list. They'll provide a detailed Bill of Materials (BOM) tailored to your specific project layout. But don't just trust it blindly. You need to review it with a critical eye.
Here's a quick checklist to use when you review a BOM for your solar mounting system installation:
Completeness: Does it include everything? Grounding lugs, cable management clips, splices, end caps, and all the necessary fasteners? These small parts are often forgotten.
Quantities: Are the quantities based on your actual array layout and engineering requirements (like attachment spacing for your wind load), or are they just a rough estimate?
Compatibility: Does the BOM explicitly state which module (by make and model) the clamps are for? Are the roof attachments (like hooks or standoffs) clearly specified for your exact roof type—be it Spanish tile, standing seam metal, or architectural shingle?
The most powerful question you can ask your supplier is this: "Can you confirm that every single component on this BOM is part of an integrated, tested system designed for the specific modules and site conditions of my project?" If they hesitate, it's a major red flag.
How Can Overlooking Small Components Sabotage Your Solar Mounting System Installation?
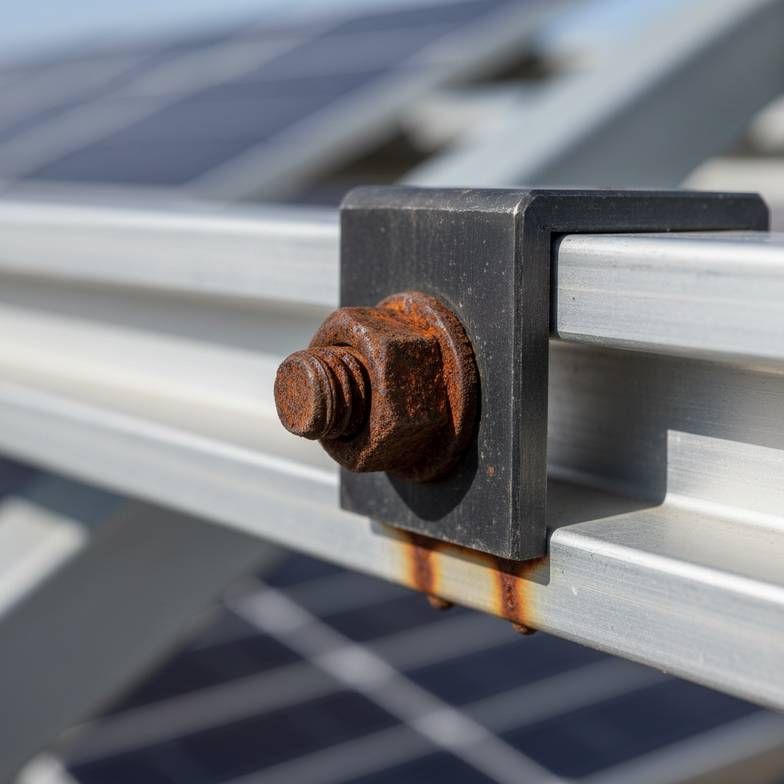
You've done your homework. You selected a system with beefy, high-grade aluminum rails and robust L-feet. You feel confident the main structure is solid. But what's actually holding the module to the rail? A clamp. And what's holding the L-foot to the roof? A single lag bolt.
Overlooking the quality and specifications of small components like fasteners, bolts, and clamps is a common but dangerous mistake. The structural integrity of the entire array depends on these parts; their failure due to poor material choice or incorrect specification can lead to a total system collapse.
Dive Deeper: The Hidden Heroes and Villains of Your Array
Think of it this way: a chain is only as strong as its weakest link. In a solar array, that weak link is often a fastener that costs less than a dollar.
Based on our experience with supply chain quality control, the variation in fastener quality on the market is enormous. A bolt might look like stainless steel, but without material certifications, you have no way of knowing its actual grade or tensile strength. It could be a lower-grade alloy that will begin to rust within a few years, compromising the connection. This is especially critical in harsh environments. We always recommend A4/316 stainless steel for projects within a few miles of the coast due to its superior resistance to chloride corrosion.
Another hidden villain is galvanic corrosion. This happens when two dissimilar metals (like an aluminum L-foot and a coated steel bolt) are in contact in the presence of an electrolyte (like rainwater). A quality supplier understands this and ensures their fasteners have the right material or coating to prevent this chemical reaction, which can literally eat away at the connection over time.
The clamps are the critical link between your expensive modules and the racking structure. They don't just hold the panels down; they are engineered to transfer immense wind uplift and snow load forces from the panel to the rail. A poorly made clamp from inferior extruded aluminum can have micro-fractures that lead to failure under load. The right question to ask your supplier is: "What are the material specifications for your fasteners and clamps, and can you provide the material test reports and recommended torque settings?"
Why Is Skipping a Site-Specific Assessment the First Mistake in Solar Installation?
You see a "universal" rooftop mounting kit online. The price is great, it's in stock, and the marketing says it works on "most roofs." It's tempting to click "buy" and get the project moving. But is your project's roof really "most roofs"?
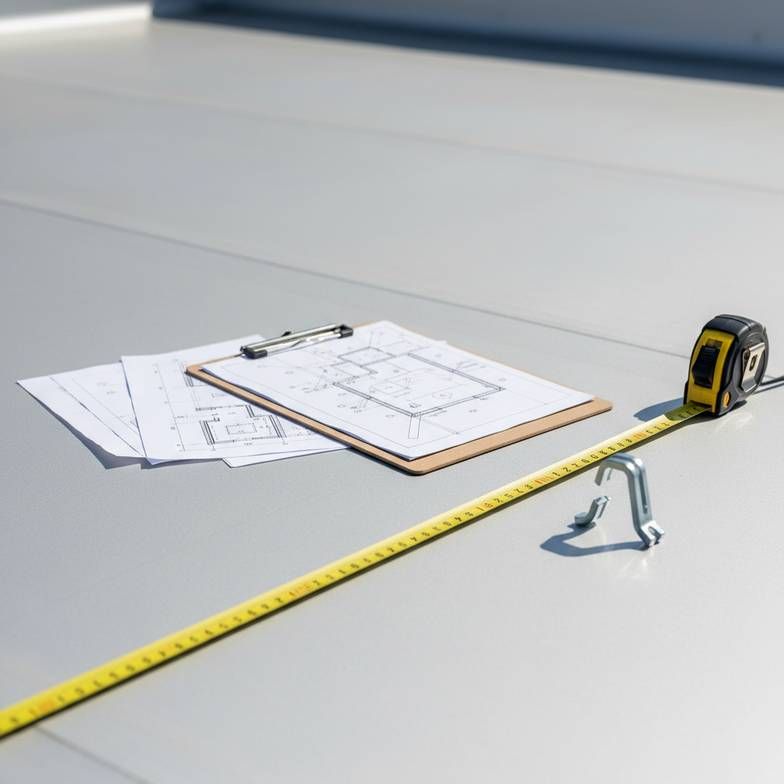
The biggest solar mounting installation mistake is failing to perform a thorough, site-specific assessment before selecting and ordering a system. Generic solutions don't account for unique roof conditions, structural limitations, or local wind and snow loads, which are essential for a safe and durable installation.
Dive Deeper: The Information Your Supplier Needs Before Quoting
This brings us back to the core thesis: a successful installation begins with a successful procurement process, and successful procurement begins with good data. From my perspective as a supplier, I can't give you a reliable solution without it.
A common question we receive from first-time buyers is, "How much is your system per watt?" It's a logical question, but it's the wrong one to start with. The right approach is to say, "Here is my project information; can you help me select the most appropriate system and provide a complete quotation?"
To do that, we (and any reputable supplier) will need a few key pieces of information:
Project Location: The city and state are essential for determining the correct design loads. We use standards like ASCE 7 to calculate the wind speeds and snow loads the system must be able to withstand.
Roof or Ground Details: For a rooftop, we need to know the roof type (e.g., trapezoidal metal, concrete tile, asphalt shingle), the roof pitch, and the underlying structure (e.g., wood rafters, steel purlins) including their spacing and dimensions. For a ground mount, a soil report is ideal.
Proposed Array Layout: A simple drawing showing the module orientation (portrait or landscape) and the dimensions of the array. This helps us calculate the exact number of rails, splices, and clamps.
Module Specification Sheet: This document is non-negotiable. It gives us the module's exact dimensions, weight, frame thickness, and, most importantly, the manufacturer's specified clamping zones.
Providing this information upfront allows a supplier to do their job properly: engineer a safe, reliable, and cost-effective system tailored to your specific project. Anything less is just guesswork.
Frequently Asked Questions
What is the most common failure point in a solar mounting system installation?
While major structural failures are rare with properly engineered systems, the most common issues we hear about are fastener-related. This includes bolts failing from corrosion or being improperly torqued during installation. The second most common issue is water leakage from poorly sealed roof penetrations.
Can I mix and match components from different solar mounting manufacturers?
I would strongly advise against it. Mounting systems are engineered, tested, and certified as a complete unit. Mixing components from different brands introduces unknown variables, almost certainly voids any manufacturer warranties, and creates significant liability for the installer if a failure occurs.
How important are wind and snow load calculations?
They are absolutely critical. These calculations dictate the engineering of your entire array—from the span between roof attachments to the type of rail required. Skipping this step or using generic values is a serious gamble with property and safety. A correctly engineered system will withstand local weather for its entire 25+ year lifespan.
Does a cheaper mounting system mean a less reliable installation?
Not always, but it does mean you need to be more careful. You must analyze the total installed cost, including labor, not just the component price. More importantly, verify that the lower cost isn't because of inferior materials (like uncoated steel fasteners or a thinner anodized finish) that could compromise the system's long-term safety and durability.
Conclusion
The success of your next solar mounting system installation will be determined long before your crew gets to the site. It’s decided in the details of your procurement process. By shifting your focus from just the component price to the total installed cost, you can better assess true value. By refusing to mix-and-match components and instead verifying your BOM is for a complete, integrated system, you ensure reliability. And most importantly, by sweating the small stuff—like the material grade of a single bolt—and starting every project with a thorough, site-specific assessment, you lay the foundation for a safe, durable, and profitable solar asset.
Ready to plan your next project with the confidence that comes from getting the details right? Submit your project requirements to us—including your array layout, module datasheet, and site conditions. Our team at XINVOK will help you configure a complete and reliable mounting solution and provide a fully transparent quotation.
For further project planning, read our guides to solar mounting components and standing seam versus trapezoidal roof mounting.
Written by
XINVOK Technical Team
Practical solar mounting knowledge for EPC teams, distributors and project buyers.
Project inquiry
Talk to Our Team
Share your project location, module size, mounting type, quantity and customization requirements.