How to Choose a Solar Mounting System for Your Project
Struggling to select a solar mounting system from the endless options available? You're not alone. The pressure is on to pick one that's affordable and reliable, but making the wrong choice can lead to costly installation delays, or worse, structural failure down the road. The secret isn't finding the single "best" system on the market, but learning how to choose the right one that perfectly matches your project's unique demands.
To choose a solar mounting system, you must first define your project's specific requirements, including the mounting surface (roof type or ground), local wind and snow loads, and module compatibility. Then, evaluate the system's quality through technical documentation, not just marketing claims, and consider logistical factors like installation efficiency and supplier reliability to ensure a smooth project execution.
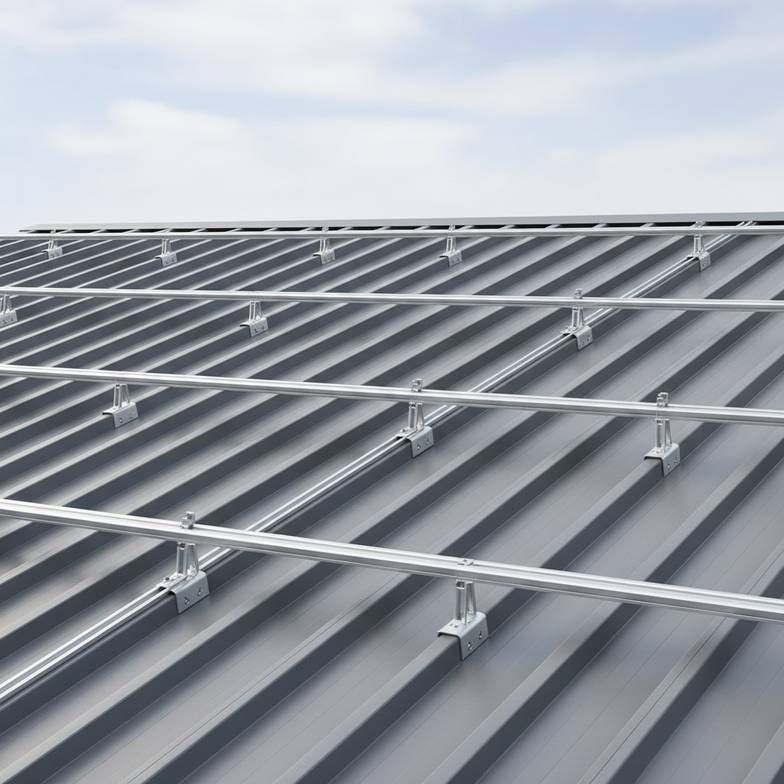
Now that you have the short answer, let's dive into the details. I'll walk you through the exact process professional buyers use to assess risk, verify quality, and select a solution that ensures their project is both safe and profitable.
What Project-Specific Conditions Define Your Solar Mounting System Needs?
So, you have a project site and a set of solar panels. It's tempting to jump straight to sourcing the hardware, but do you know how the unique conditions of your site dictate your choices? Overlooking these details is a classic mistake that can force expensive changes mid-project.
The most critical conditions that define your solar mounting system are the mounting surface (like a specific roof profile or ground soil type), the local environmental loads (wind and snow), and ensuring full compatibility with your chosen solar modules. Getting this right upfront is non-negotiable.
Dive Deeper: Matching the System to the Site
From my experience helping hundreds of installers and EPCs, the most successful projects are the ones where the buyer did their homework on these three areas before requesting a quote. Let's break them down.
Roof Profile, Ground Conditions, and Your First Big Decision
The first question is always: where are the panels going?
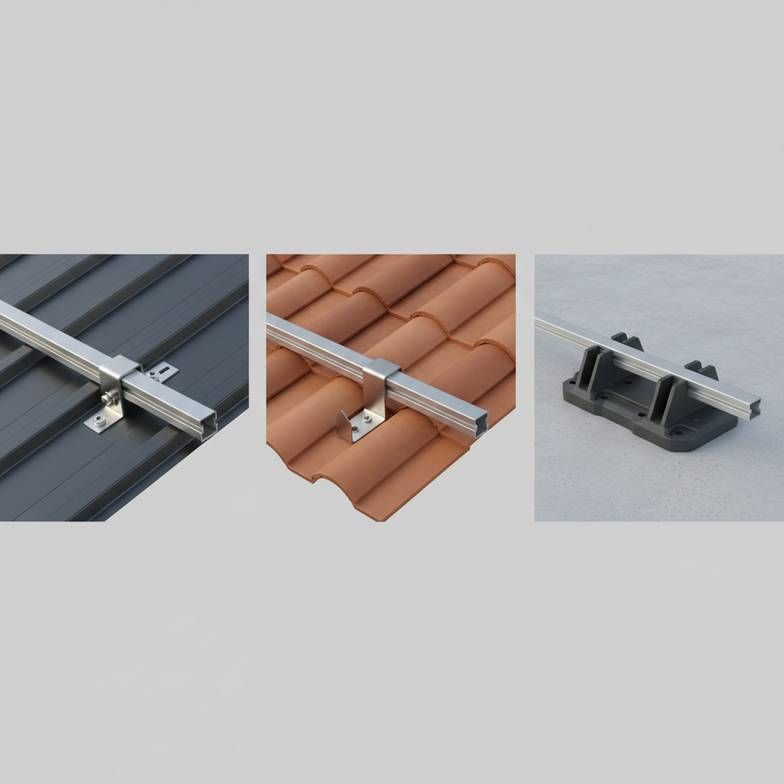
Rooftop Mounting: This is the most common for residential and commercial projects. However, "rooftop" is too vague. You need to know the exact roof type, as it determines the specific attachments (like roof hooks or clamps) you'll need.
Ground-Mounted: For large-scale projects or properties with ample space, ground-mounted systems offer flexibility in tilt and orientation. The key variable here is the soil condition, which determines the foundation type—common options include ground screws, concrete piers, or ballasted foundations.
For rooftop projects, a frequent question we get is, "Do you have a kit for a tile roof?" The answer is more complex. We need to know: Is it a Spanish tile, a flat tile, a clay tile? Each requires a different roof hook and flashing to ensure a secure, watertight connection. Here’s a quick comparison of common roof types and their mounting considerations:
| Roof Type | Key Consideration | Common Attachment Method |
|---|---|---|
| Trapezoidal Metal | Rib height and spacing | L-feet or specialized clamps attached to the rib |
| Standing Seam Metal | Seam profile and material | Non-penetrating seam clamps |
| Tile (Clay/Concrete) | Tile profile and underlayment | Tile hooks that slide under the tile and attach to the rafter |
| Flat (Concrete/Membrane) | Structural capacity of the roof | Ballasted systems (no penetrations) or mechanically attached systems |
Why You Can't Ignore Wind and Snow Loads
This is where a lot of projects get into trouble. A solar mounting system that works perfectly in a calm, temperate zone could fail catastrophically in a region with high winds or heavy snow. You must design for the local environmental loads as specified by building codes, such as ASCE 7 in the United States.
A professional supplier won't just sell you parts; they will ask for your project's location to help determine the applicable loads. They should be able to provide load tables or engineering calculations that prove their system can handle your site's specific wind speed and ground snow load requirements. Never accept a supplier's verbal assurance. Always ask for the data that backs it up.
Verifying Module Compatibility
One of the most common—and avoidable—mistakes we see is buyers assuming any clamp will work with any module. Solar panel manufacturers are very specific about where their frames can be clamped. This is known as the "clamping zone."
Before you order, you must check two things:
The Module Datasheet: Look for the mechanical loading diagram. It will show the approved clamping zones on the long and short sides of the frame. Clamping outside this zone can void the module warranty and concentrate stress on the glass, risking breakage.
The Clamp Specifications: Check the clamp's grip range against the module's frame height. A standard module might have a 35mm frame, while a newer, high-power module might be 30mm. Using the wrong size clamp will result in a loose, insecure connection.
How Do You Evaluate the Quality of a Solar Mounting System?
You're browsing supplier websites, and every product page is filled with impressive-sounding terms: "high-strength aluminum," "superior corrosion resistance," "aerodynamic design." But how can you tell if these are meaningful promises or just marketing buzzwords?
True quality in a solar mounting system isn't found in a glossy brochure. It's verified through tangible proof: technical documentation, material certifications, and a clear understanding of the manufacturing process. Relying on claims without verification is a gamble you can't afford to take.
Dive Deeper: Looking Beyond the Surface Specs
When I first got into this industry, I thought a thicker aluminum profile was always better. I quickly learned that it's far more nuanced. Quality is a combination of the right material, a controlled manufacturing process, and transparent documentation.
Materials Matter, But Process Matters More
The most common materials you'll encounter are:
Aluminum Alloy (e.g., 6005-T5): Used for rails and clamps due to its high strength-to-weight ratio and natural corrosion resistance.
Stainless Steel (e.g., SUS304): Used for fasteners, bolts, and hooks where maximum strength and corrosion resistance are needed.
Galvanized Steel (e.g., Q235 with Hot-Dip Galvanization): Often used for ground-mount legs and structures due to its lower cost and high strength.
However, the material name alone is not a guarantee. The manufacturing process is just as important. For example, the "T5" in 6005-T5 aluminum refers to a specific artificial aging and tempering process. If a factory cuts corners on this process, the resulting rail could be brittle and fail under load, even if it's made from the "right" alloy.
The Documents You MUST Ask For
A credible supplier will be transparent and ready to provide documentation. If a supplier hesitates or can't produce these, it's a major red flag.
Installation Manual: Is it clear, well-illustrated, and written in coherent English? A confusing manual is a preview of the installation nightmare to come. It should specify torque values for bolts and fastener spacing.
Material Certifications (Mill Test Reports): Ask the supplier to provide reports for the batch of aluminum or steel used for your order. This document proves the chemical composition and mechanical properties of the raw material meet the specified standards.
Load Test Reports: Serious manufacturers conduct in-house or third-party testing to determine the failure points of their components. Ask for reports showing how their rails perform under bending tests or how their clamps perform under pull-out tests. This is real-world proof of performance.
Corrosion Protection Explained
Especially for projects in coastal or industrial areas, corrosion is a primary concern. The two main types of protection are:
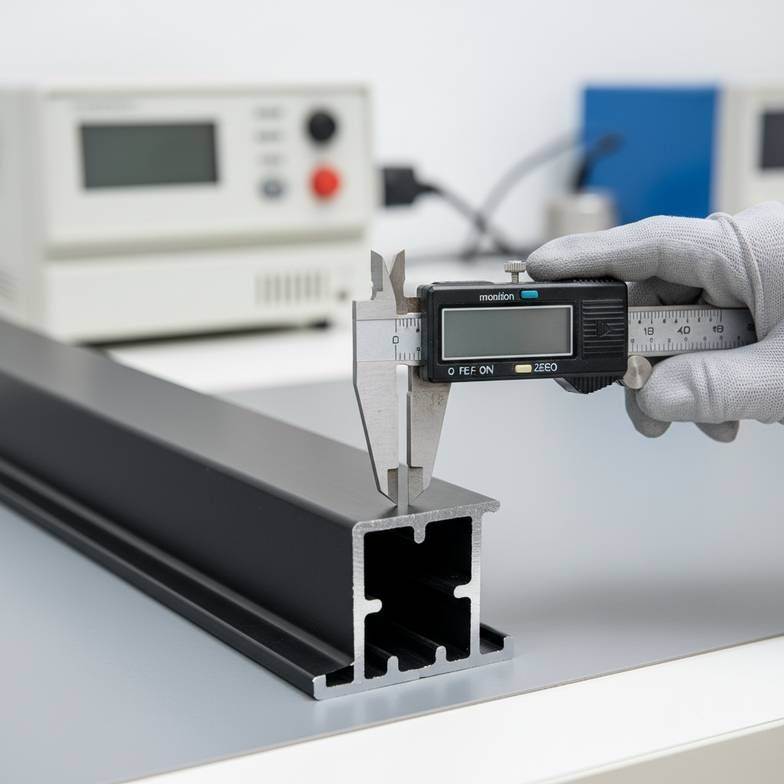
Anodizing (for Aluminum): This electrochemical process creates a hard, protective oxide layer on the surface. A typical anodizing thickness for solar applications is 12-15 μm (micrometers). Ask your supplier to confirm their standard thickness.
Hot-Dip Galvanizing (for Steel): This involves dipping the steel components in a bath of molten zinc. The zinc coating provides a robust barrier. The thickness is crucial; for harsh environments, you should look for coatings of 80 μm or more.
Don't just take their word for it. When your order arrives, you can spot-check a few pieces. Poor anodizing might look uneven or thin. Bad galvanizing can have bumps or uncoated spots.
What Logistical Factors Impact Your Choice of Solar Mounting System and Supplier?
Let's be practical. A structurally perfect, beautifully engineered solar mounting system is completely useless if it arrives with missing parts, gets damaged in transit, or takes twice as long to assemble because of poor design. Project delays are project costs.
The most overlooked factors in choosing a solar mounting system are often logistical: the completeness of the kit, the quality of packaging, the clarity of installation instructions, and the reliability of the supplier. These elements directly impact your project's timeline, labor budget, and overall stress level.
Dive Deeper: Thinking About the Project from Start to Finish
As a supplier, we see the consequences when buyers only focus on the per-watt hardware cost. They might save a few cents on a rail but lose dollars in wasted labor time on site. A professional buyer thinks about the total installed cost.
The Hidden Value of Pre-Assembly and Kitting
One of the biggest time-savers on a job site is pre-assembly. Ask your supplier:
Do the mid and end clamps come with the T-nut and bolt already loosely assembled?
Are grounding lugs and clips included in the kit?
Are rail splice kits packaged together?
Hunting for tiny bolts and washers in a dusty, chaotic construction site is a massive waste of time. A good supplier understands this and designs their kits for rapid deployment. A frequent question we get from installers is about the level of pre-assembly, because they know it translates directly to fewer hours on the roof.
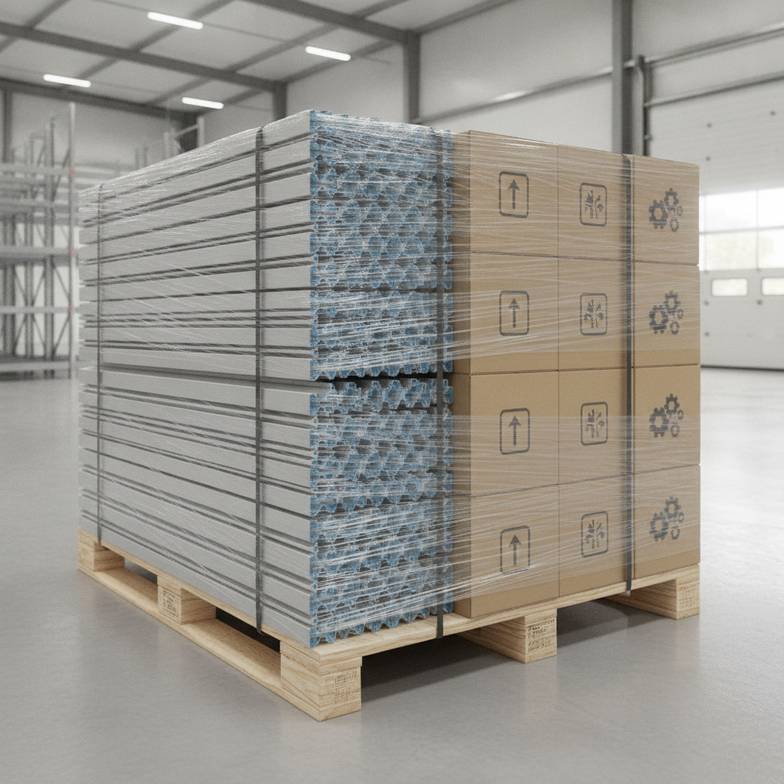
Packaging and Shipping That Prevents Headaches
Imagine your crew is on site, the crane is booked, and you discover half your rails are bent and unusable because they were poorly packaged. This is a real risk.
When evaluating a supplier, ask about their packaging methods:
Are long rails bundled with protective end caps and reinforced packaging?
Are small components like clamps and fasteners bagged and clearly labeled by part number?
Are the pallets robust enough to survive international shipping and handling by forklift?
When the shipment arrives, every box should be easily identifiable, allowing your team to quickly stage the materials for installation instead of wasting hours sorting through a giant pile of metal.
Installation Efficiency is a Cost, Too
The design of the solar mounting system itself has a huge impact on labor. An intuitive system with fewer unique components and simple, repeatable steps is always faster to install. This comes back to the quality of the installation manual. If your crew can glance at it once and understand the process, you've chosen well.
I once spoke with a contractor who switched suppliers after a terrible experience. The system they bought had five different types of bolts for a simple rooftop installation. It was a nightmare for the crew to keep track of, and they ended up using the wrong bolts in several places, forcing a time-consuming rework. A well-designed system minimizes complexity.
The Importance of Supplier Communication
Finally, what happens when you do have a question or an issue? Can you get a knowledgeable person on the phone or via email quickly? A supplier's responsiveness before you place the order is a strong indicator of the support you'll receive after.
Test them. Send a technical question about their load tables or ask for an installation detail for a specific roof type. Their response time and the quality of their answer will tell you everything you need to know about their reliability as a partner.
Frequently Asked Questions
Can I mix and match components from different solar mounting system manufacturers?
It's strongly discouraged. A solar mounting system is engineered and tested as a complete unit. Mixing rails from one brand with clamps from another can create unpredictable structural behavior and will almost certainly void the warranty for the entire system. Stick with a single, complete system.
What's the difference between a ballasted and an attached system for flat roofs?
A ballasted system uses concrete blocks or other weights to hold the array in place without penetrating the roof membrane. It's faster to install and preserves the roof warranty. An attached system is mechanically fastened to the roof structure, which is lighter but requires careful waterproofing at each penetration point.
How important is the anodizing thickness on aluminum rails?
It's very important, especially for long-term durability. The anodized layer is the primary defense against corrosion. A standard, good-quality system should have an anodizing thickness of at least 12 μm. For coastal or highly corrosive environments, you might seek out systems with 15 μm or more for extended life.
Do I need a structural engineer to approve my solar mounting system?
Yes, for almost all commercial projects and in many jurisdictions for residential projects, a licensed structural engineer must review and stamp the plans. They will verify that the chosen solar mounting system, its layout, and its connection to the building are appropriate for the local wind, snow, and seismic loads.
Conclusion
Choosing the right solar mounting system is a process of careful evaluation, not a simple shopping trip. It’s about moving beyond marketing claims and learning to ask the right questions. The best choice is one that is perfectly matched to your site conditions, has verifiable material and manufacturing quality, and is supported by a reliable supplier who understands the logistical realities of a construction project. By focusing on these key areas—project specifics, documented quality, and logistical efficiency—you can confidently select a system that minimizes risk and sets your project up for long-term success.
If you are evaluating options for your next project, our team is ready to help. Submit your project requirements—including site location, layout drawings, and module specifications—and we will prepare a detailed proposal and quotation for a solar mounting system tailored to your needs.
For further project planning, read our guides to solar mounting components and preparing a solar mounting RFQ.
Written by
XINVOK Technical Team
Practical solar mounting knowledge for EPC teams, distributors and project buyers.
Project inquiry
Talk to Our Team
Share your project location, module size, mounting type, quantity and customization requirements.
Related Products
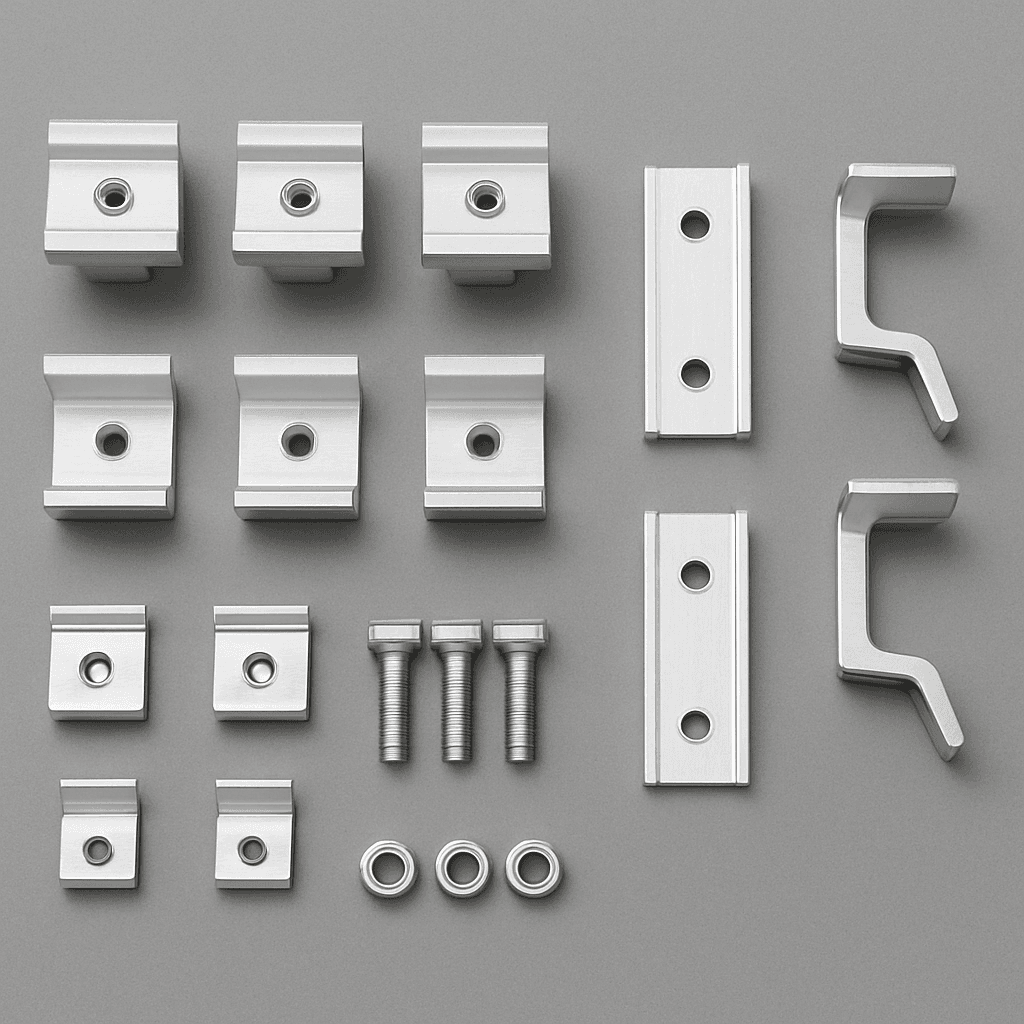
Solar Mounting Accessories
Rails, mid clamps, end clamps, roof hooks, grounding clips, cable clips, bolts and fasteners for roof and ground PV installation.
View products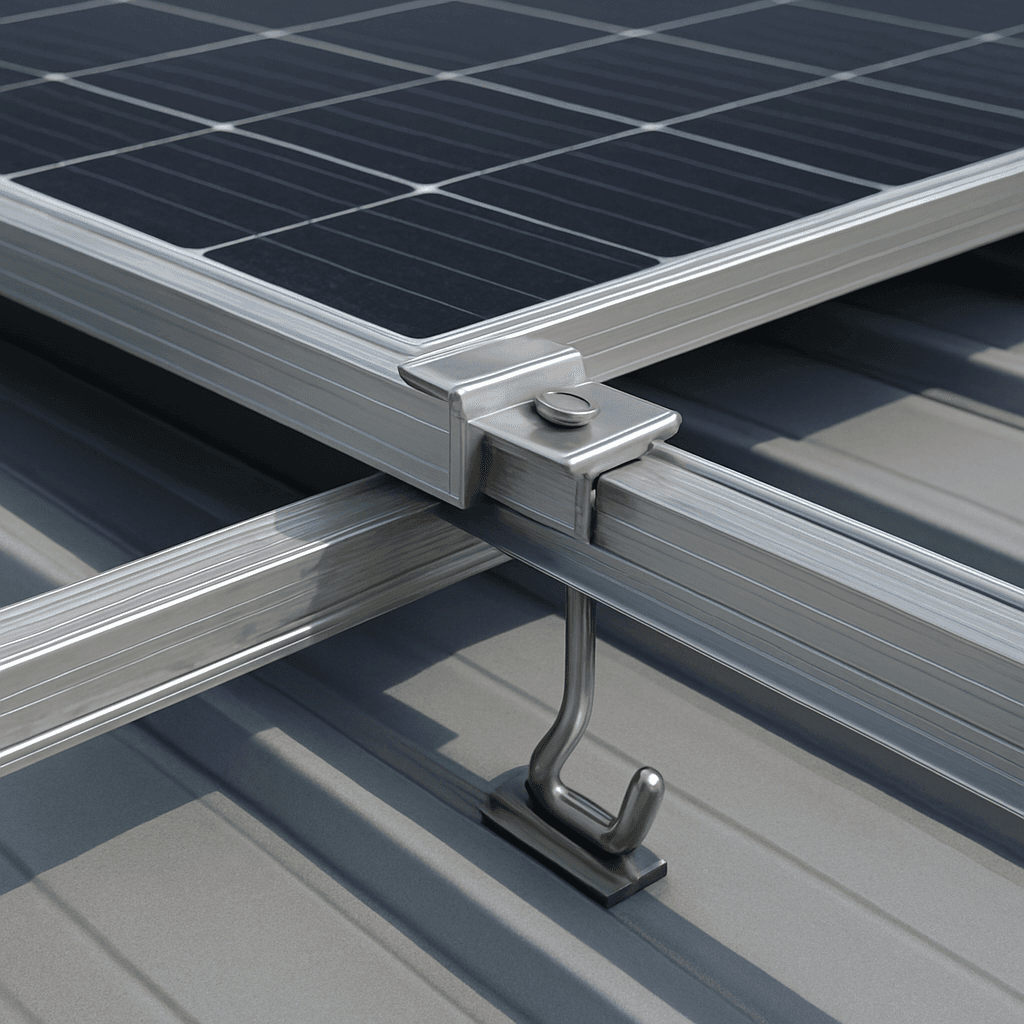
Roof Solar Mounting Systems
Mounting systems for metal roof, tile roof, flat concrete roof and asphalt shingle roof projects, with rails, clamps, hooks and fasteners matched by roof type.
View products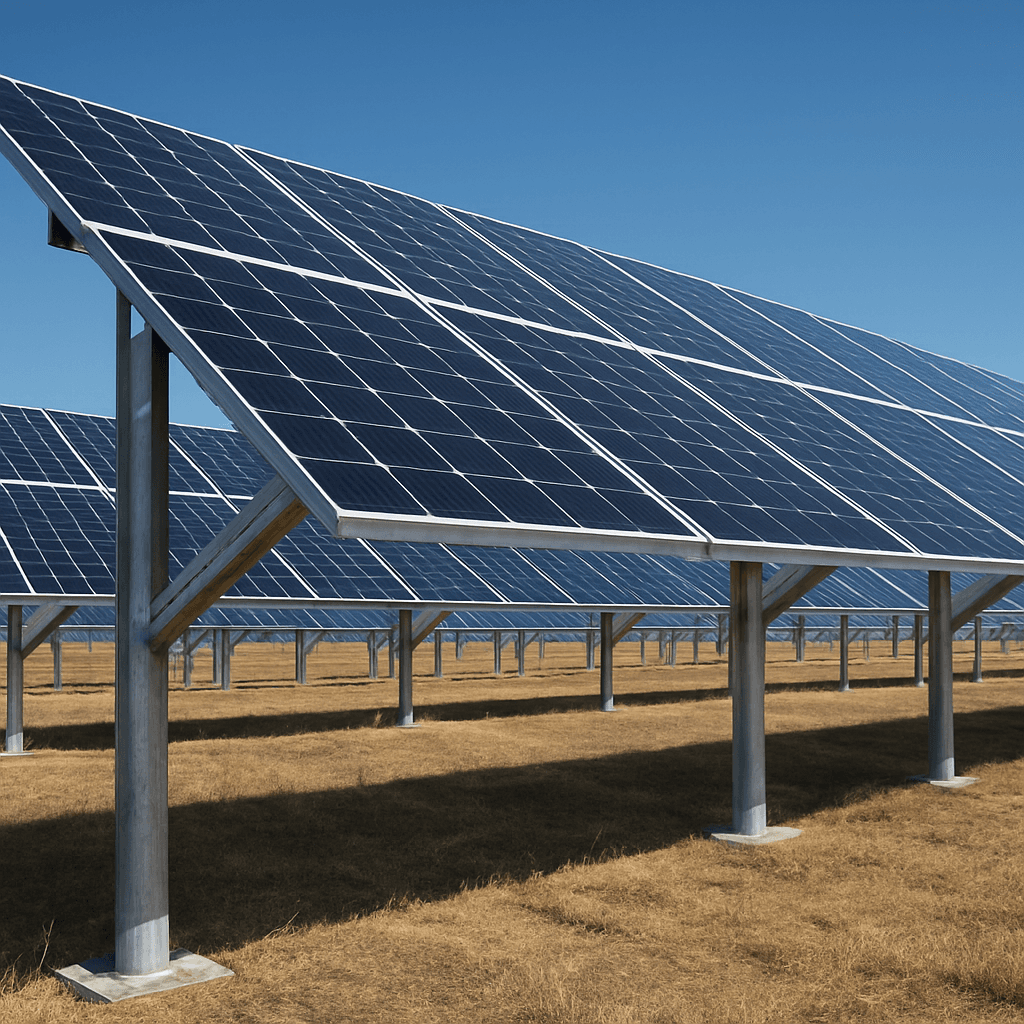
Ground Solar Mounting Systems
Aluminum, pile and galvanized steel ground mounting options for commercial and utility PV projects, selected according to soil condition, foundation method and project layout.
View products