
Rail vs. Rail-Less Solar Mounting: Installation, Compatibility, and Cost
Trying to decide between rail vs. rail-less solar mounting can feel like you're caught between competing sales pitches. One side promises lower material costs, while the other talks about reliability and flexibility. Making the wrong choice can lead to budget overruns, tricky installations, and long-term performance worries. You need a clear framework to cut through the noise and pick the right system for your specific project.
The core difference in the rail vs. rail-less solar mounting debate is a trade-off. Traditional railed systems offer greater compatibility with various roof types and module sizes, providing installation flexibility and redundancy. Rail-less systems often have a lower upfront material cost and a sleek look but demand stricter installation precision, have more compatibility constraints, and place higher importance on the integrity of each attachment point.
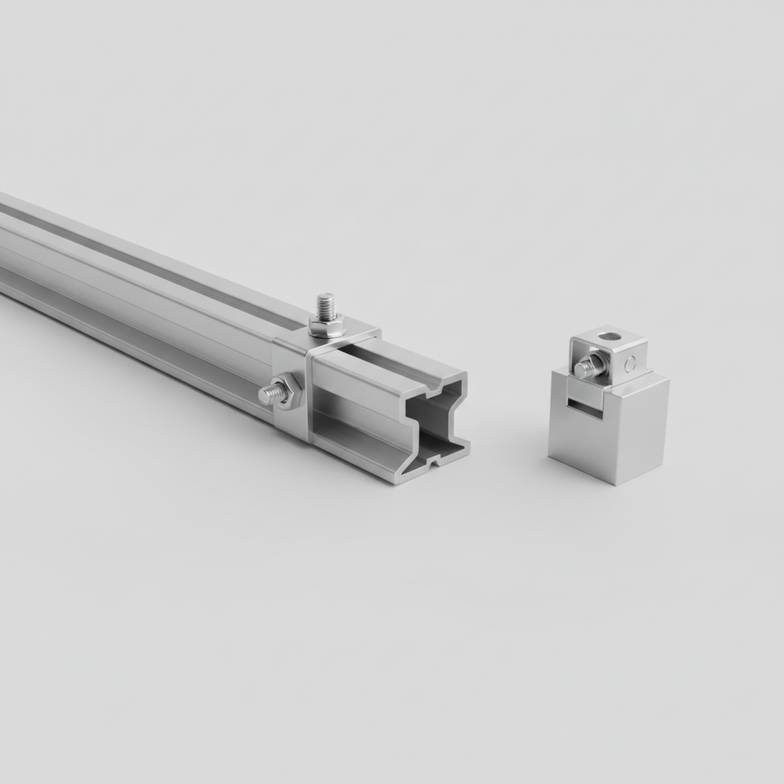
This choice isn't about which system is universally "better." It's about which system's trade-offs you are more comfortable with for your specific roof, labor crew, and risk tolerance. Let’s break down the practical differences you need to consider before issuing a purchase order.
How Do Installation Costs Really Compare?
Are you feeling the pressure to bring your project in under budget? You've probably heard that rail-less systems are "cheaper," but that statement often oversimplifies the true cost picture. Focusing only on the price of materials can lead to some expensive surprises on-site.
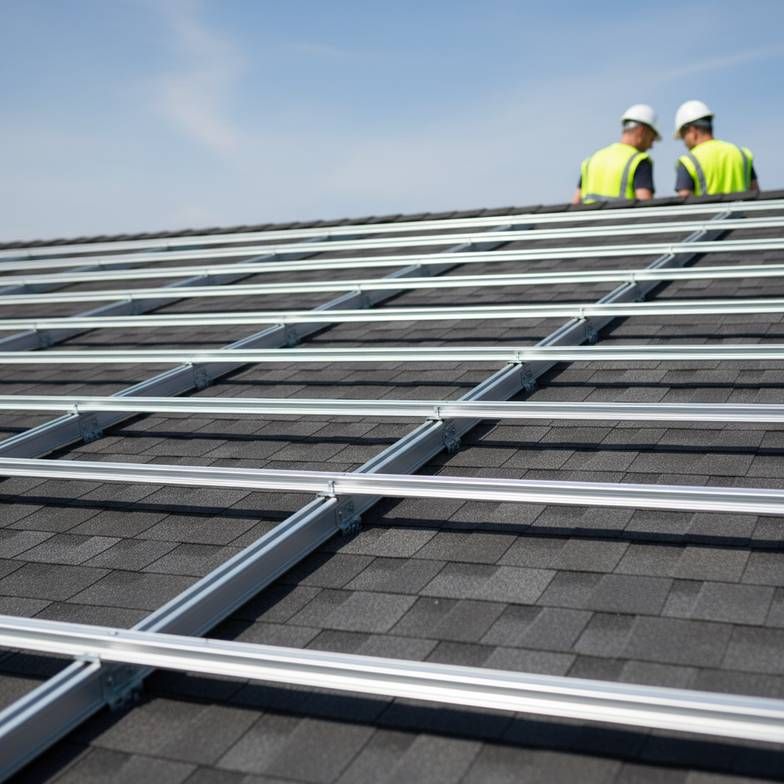
While rail-less systems typically have a lower bill of materials because you aren't buying long aluminum rails, the total installed cost can sometimes be higher. Railed systems, with their predictable, repetitive process, can often be installed faster by a wider range of crews, reducing labor expenses and the risk of costly errors.
Dive Deeper: From Material Price to Total Installed Cost
When we, as suppliers, prepare a quote, the material cost is only one piece of the puzzle. As an installer or project manager, your real concern is the total cost to get the system fully and correctly installed. I've seen many customers initially drawn to a lower material price, only to find their labor costs were higher than anticipated. Let's look at the factors beyond the hardware price tag.
Material Costs vs. Labor Costs
The most obvious difference is the absence of long, heavy rails in a rail-less system. This reduces material costs and can make logistics easier—you're handling smaller boxes of components instead of 13-foot or 16-foot extrusions.
However, the labor side is more complex.
Railed Systems: The process is very linear. You locate rafters, place attachments, install rails, and then clamp modules. It's a repetitive, factory-like workflow that crews can master quickly. The rails themselves help align the array and provide a forgiving framework. If one attachment is slightly off, the rail can often bridge the imperfection.
Rail-Less Systems: Each attachment point must be measured and placed with high precision. There's no rail to ensure alignment. This can mean more time spent with chalk lines and tape measures for every single module. I've heard from some installers that while their first few rail-less jobs were slow, they eventually got faster. But that speed comes after a significant learning curve.
Here's a simplified breakdown of how costs can shift:
Cost Component: Material Cost | Railed System: Higher | Rail-Less System: Lower | Key Consideration: Are you optimizing for hardware cost or total project cost?
Cost Component: Labor Skill | Railed System: Lower skill floor | Rail-Less System: Higher skill floor | Key Consideration: Does your crew have experience with the specific rail-less brand?
Cost Component: Installation Time | Railed System: Often faster/more predictable | Rail-Less System: Can be slower, especially for new crews | Key Consideration: Time is money. A longer install can erase material savings.
Cost Component: Rework Risk | Railed System: Lower | Rail-Less System: Higher | Key Consideration: A misplaced rail-less mount is harder to correct than a misplaced rail stanchion.
The Hidden Costs of a Learning Curve
Every new system requires training. With a railed system, the concepts are broadly similar across brands. For rail-less, each manufacturer has a unique method for attachments, leveling, and module clamping. This specificity means your team isn't just learning "rail-less"; they're learning a very particular product. This learning curve is a direct project cost, paid for in labor hours. If you use different crews or subcontractors, you'll be paying for that training on every new project until they are proficient.
Rework and Risk: The Unseen Expense
What happens when an attachment is misplaced? With a rail, you might have some room to slide the clamp. With a rail-less system, a misplaced mount could mean drilling a new hole in the roof. That's not just a time delay; it's another roof penetration that needs to be perfectly sealed, adding to your long-term risk. The cost of one leak call-back five years from now can wipe out any savings you achieved on materials today.
What Are the Real Compatibility Constraints?
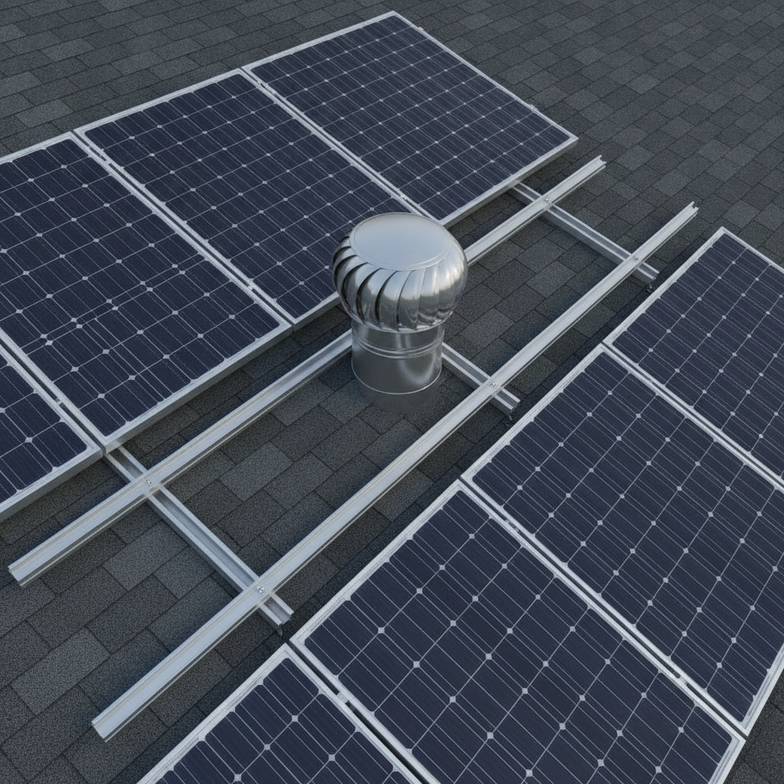
You've found a system that fits the budget, but will it actually work with your modules and your roof? It's a frustrating scenario when components arrive on site, and you discover the clamps don't fit the module frame or you can't position the array around a vent pipe.
The answer is that railed systems are fundamentally more adaptable. The rails create a universal platform that can accommodate a wide range of module sizes and allows for flexible layouts. Rail-less systems, by contrast, are often highly optimized for specific module dimensions and work best on large, uniform roof planes with no obstructions.
Dive Deeper: Beyond Just the Roof Type
Compatibility goes far beyond just "shingle roof" or "metal roof." It's about the fine details that determine whether an installation is smooth and successful or a day of frustrating modifications. From our perspective as a supplier, these are the compatibility questions that successful project managers ask before they buy.
Module Clamping Zones and Why They Matter
Every solar panel manufacturer specifies approved "clamping zones" on the module frame. These are the areas where you can safely attach clamps without creating stress points that could damage the module or void its warranty.
Railed Systems: Rails offer a continuous slot, allowing you to place clamps precisely within the manufacturer's specified zones, regardless of where the rafters lie below. You attach the rail to the structure, then you have total freedom to position clamps along that rail.
Rail-Less Systems: With rail-less, the mount that attaches to the roof is often the same component that clamps the module. This means your clamping location is dictated by your structural attachment points (the rafters). If the rafters don't line up perfectly with the module's approved clamping zones, you have a problem. This makes some module/roof combinations simply incompatible with certain rail-less products.
Navigating Roof Obstructions (Vents, Skylights)
Roofs are rarely perfect, empty rectangles. They have vents, pipes, and skylights that you need to work around.
Railed Systems: Rails can easily span over or around small obstructions. You can adjust the array's position with millimeter precision to create a clean, aesthetic layout that maximizes the available roof space.
Rail-Less Systems: Working around obstructions is much trickier. Since each module is mounted independently, creating a clean line around a vent pipe can be a geometric puzzle. It often results in wasted space or an awkward-looking layout, as you may have to leave out an entire module where a railed system might have fit.
Thermal Expansion: A Critical Detail
Large solar arrays get hot. The components—especially long aluminum rails—expand and contract with temperature changes. Railed systems are designed for this. They use "rail splices" that allow for expansion and contraction without putting stress on the modules or the roof. A 100-foot row of rails can expand by over an inch. Rail-less systems manage thermal expansion at the module level, which is generally effective. However, the installer must be careful to follow the manufacturer's spacing requirements between modules to allow for this movement.
How Does Long-Term Risk Differ in Rail vs. Rail-Less Solar Mounting?
Your job isn't over when the last panel is installed. You're responsible for a power plant that needs to perform reliably for 25+ years. Are you thinking about how your mounting choice today impacts long-term risk and serviceability?
When comparing rail vs. rail-less solar mounting, the fundamental risk difference comes down to redundancy. Railed systems distribute loads across a framework with many attachment points, creating a more redundant system. Rail-less systems rely on fewer, more critical connections, where the quality of each seal and every clamp is absolutely essential for long-term performance and water-tightness.
Dive Deeper: Managing Risk for 25 Years
The risk isn't that rail-less systems are inherently unsafe; when installed exactly to the manufacturer's specifications by a trained crew, they are robust and reliable. The difference is that the margin for installation error is much smaller. A single poorly installed mount has a bigger impact on the system's integrity.
Load Distribution and Redundancy
Think of a railed system like a bridge. The rails act as girders, collecting the wind and snow loads from all the modules and distributing them evenly across all the roof attachments. If one attachment is slightly less effective, its neighbors help carry the load. This creates inherent redundancy.
A rail-less system is more like a series of individual anchors. Each mount bears a more concentrated load from the module corners it supports. The system's overall strength is directly tied to the integrity of every single attachment. This isn't a problem from an engineering standpoint—they are designed for this—but it means the quality control of the installation itself is far more critical.
The Importance of Every Seal and Clamp
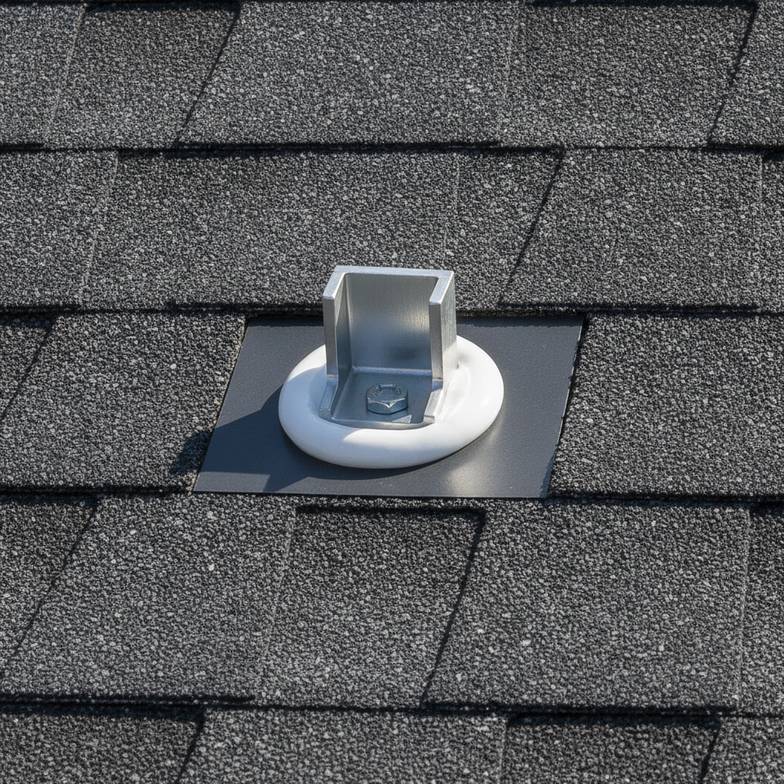
In any rooftop solar installation, the roof penetrations are the highest-risk element for future water leaks.
With Railed Systems: The flashing and sealing of the roof attachments happen as a separate, dedicated step. The crew is focused on one task: waterproofing. Then they move on to building the rail framework.
With Rail-Less Systems: The attachment, the flashing, the seal, and the module clamp are often part of a single, integrated component. The installer is managing alignment, waterproofing, and clamping all at once. A small mistake—like over-torquing a bolt and compromising the rubber seal—can create a hidden vulnerability. A common question we get from buyers is about long-term reliability, and this is where we emphasize the importance of following the torque specifications in the manual to the letter.
The Supplier's Role in Mitigating Risk
Because rail-less systems are less standardized, your supplier becomes a critical part of your risk management strategy. A good rail-less manufacturer provides an exceptionally detailed installation manual, clear engineering letters, responsive technical support, and full traceability for their components. When you choose a rail-less system, you are not just buying the hardware; you are investing in the supplier's ecosystem of support. Before committing, ask for a copy of the installation manual. If it's vague or poorly translated, that's a major red flag.
Frequently Asked Questions
Can rail-less systems be used on any roof type?
No, not always. Rail-less systems are often optimized for specific roof types, like standard asphalt shingle roofs. Their suitability for metal, tile, or low-slope membrane roofs depends heavily on the specific product's design and engineering. Always verify compatibility with the manufacturer for your exact roof profile.
Are rail-less solar mounts as strong as railed systems?
When installed correctly according to the manufacturer's engineering specifications, UL-listed rail-less systems are designed to be just as strong and safe as railed systems. The key difference is that their strength is more dependent on perfect installation at fewer, more concentrated points, whereas railed systems distribute loads across a larger framework.
Is it faster to install a rail-less system?
For an experienced crew that is highly proficient with a specific rail-less product, it can be. However, for most crews, or for those new to a system, the meticulous layout and measurement required for rail-less can make the installation slower than a traditional railed system, potentially negating the material cost savings.
How do I get a quote for the right system for my project?
To get an accurate quote for any solar mounting system, you need to provide your supplier with key project details. This includes the project location (for load calculations), roof or ground conditions, layout drawings, the specific solar module datasheet, and required quantities. This information allows us to propose a fully compatible and properly engineered solution.
Conclusion
The debate over rail vs. rail-less solar mounting isn't about finding a single "best" product, but about making an informed trade-off. Railed systems provide a robust, flexible, and forgiving platform that is adaptable to nearly any module and roof, making them a reliable choice that minimizes installation risk. Rail-less systems offer a path to lower material costs and sleek aesthetics, but demand a higher level of installation precision, have more compatibility constraints, and place the long-term performance squarely on the quality of the installation labor. The right choice depends entirely on your project's specific variables: your roof's complexity, your crew's experience, and your tolerance for long-term risk.
If you're evaluating options for your next solar project, the best first step is a thorough review of your specific requirements. Send us your project location, layout drawings, and module specifications. Our team at XINVOK will help you analyze the trade-offs and prepare a detailed mounting proposal and quotation tailored to your needs.
Written by
XINVOK Technical Team
Practical solar mounting knowledge for EPC teams, distributors and project buyers.
Project inquiry
Talk to Our Team
Share your project location, module size, mounting type, quantity and customization requirements.